DocsGetting started
Install
How to install tensai, and what the first launch does. It is pre-1.0: expect changes.
Before you start
- Android 10 or newer.
- A 64-bit ARM phone (
arm64-v8a). - Storage for the models you choose. The ones tensai recommends are files from about 0.5 GB to 2.5 GB each.
Install the APK
- Get the APK from the download page or from the GitHub releases. Both have the same file.
- Android asks once to allow installs from your browser or file manager. Allow it.
- Open tensai.
The APK is signed. The download page gives its SHA-256 and the signing certificate fingerprint, with the commands to check them.
First launch
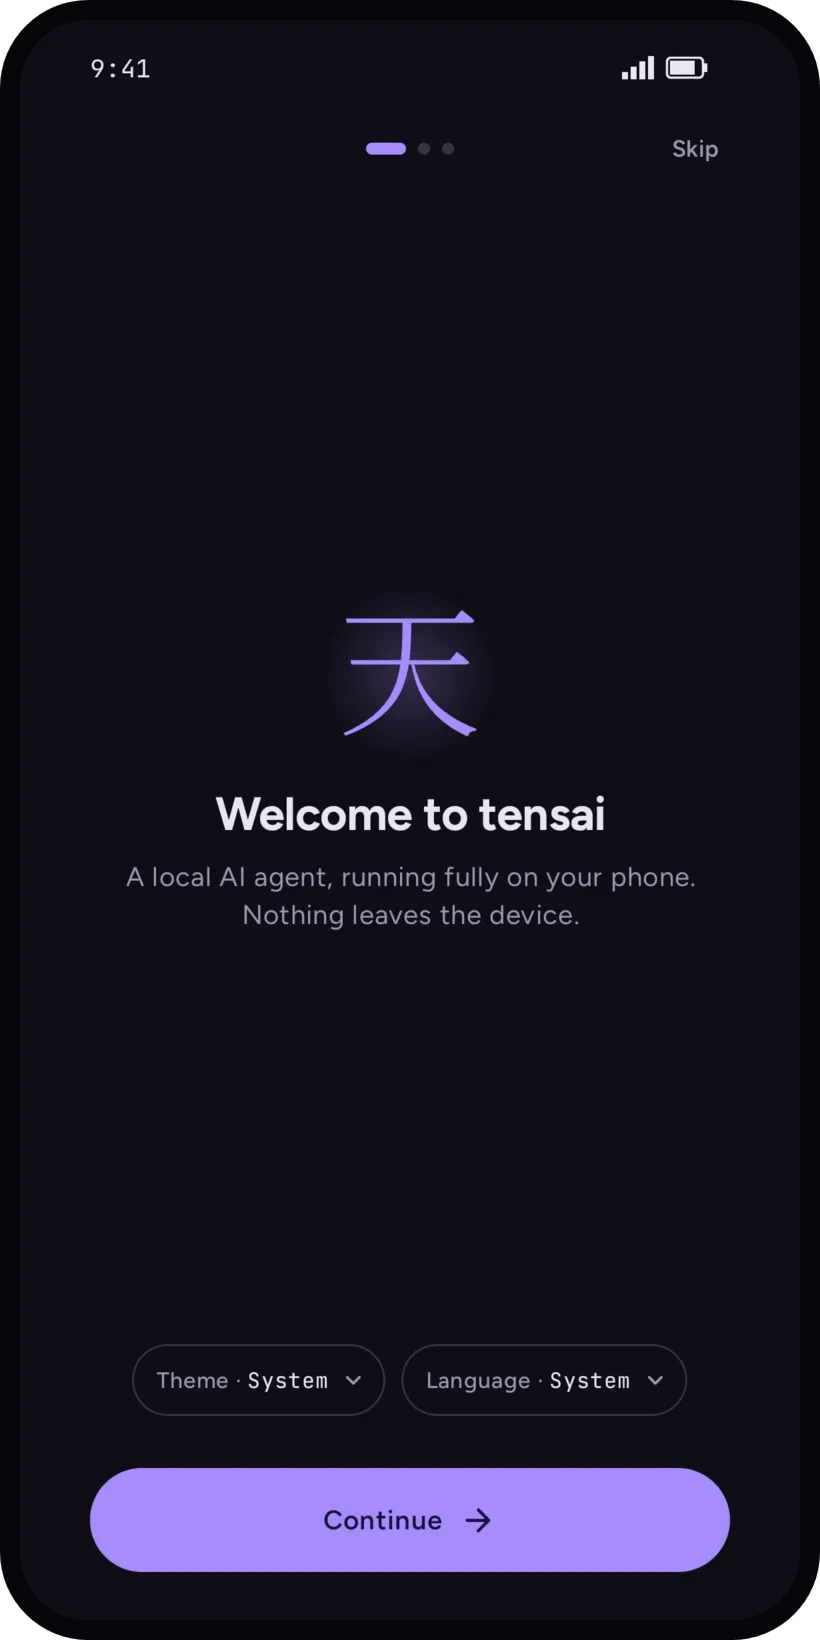
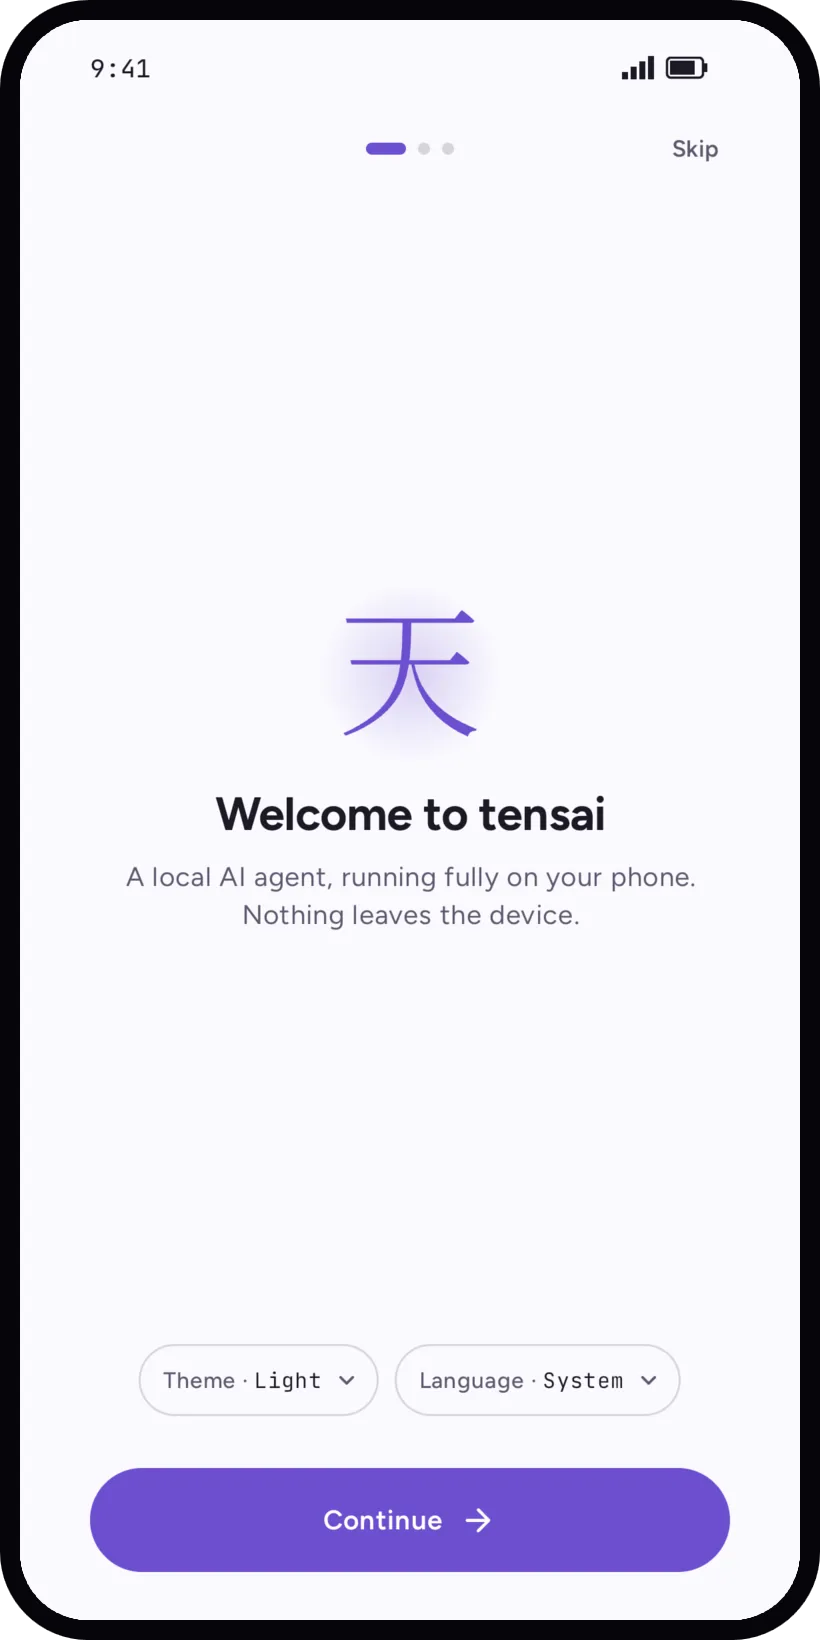
tensai starts with a short setup: theme and language. Then it suggests a first model that fits your phone, or lets you import a GGUF file you already have.
Next: choose your first model.
Updates
Updates are new APKs on the GitHub releases, with their checksums and release notes. Obtainium can watch them and update tensai for you. F-Droid is not available yet.
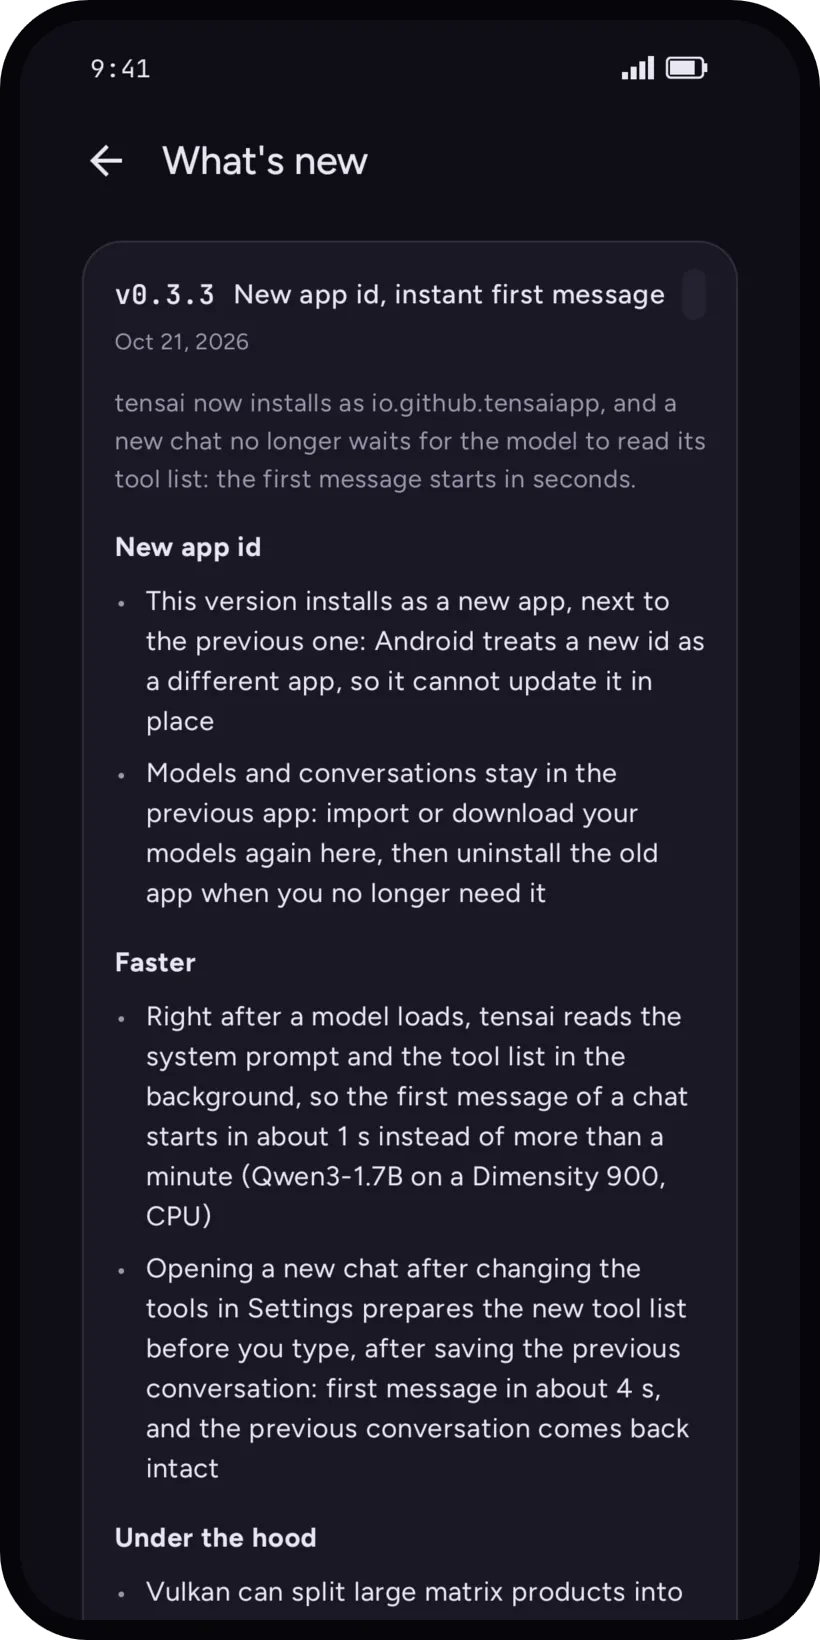
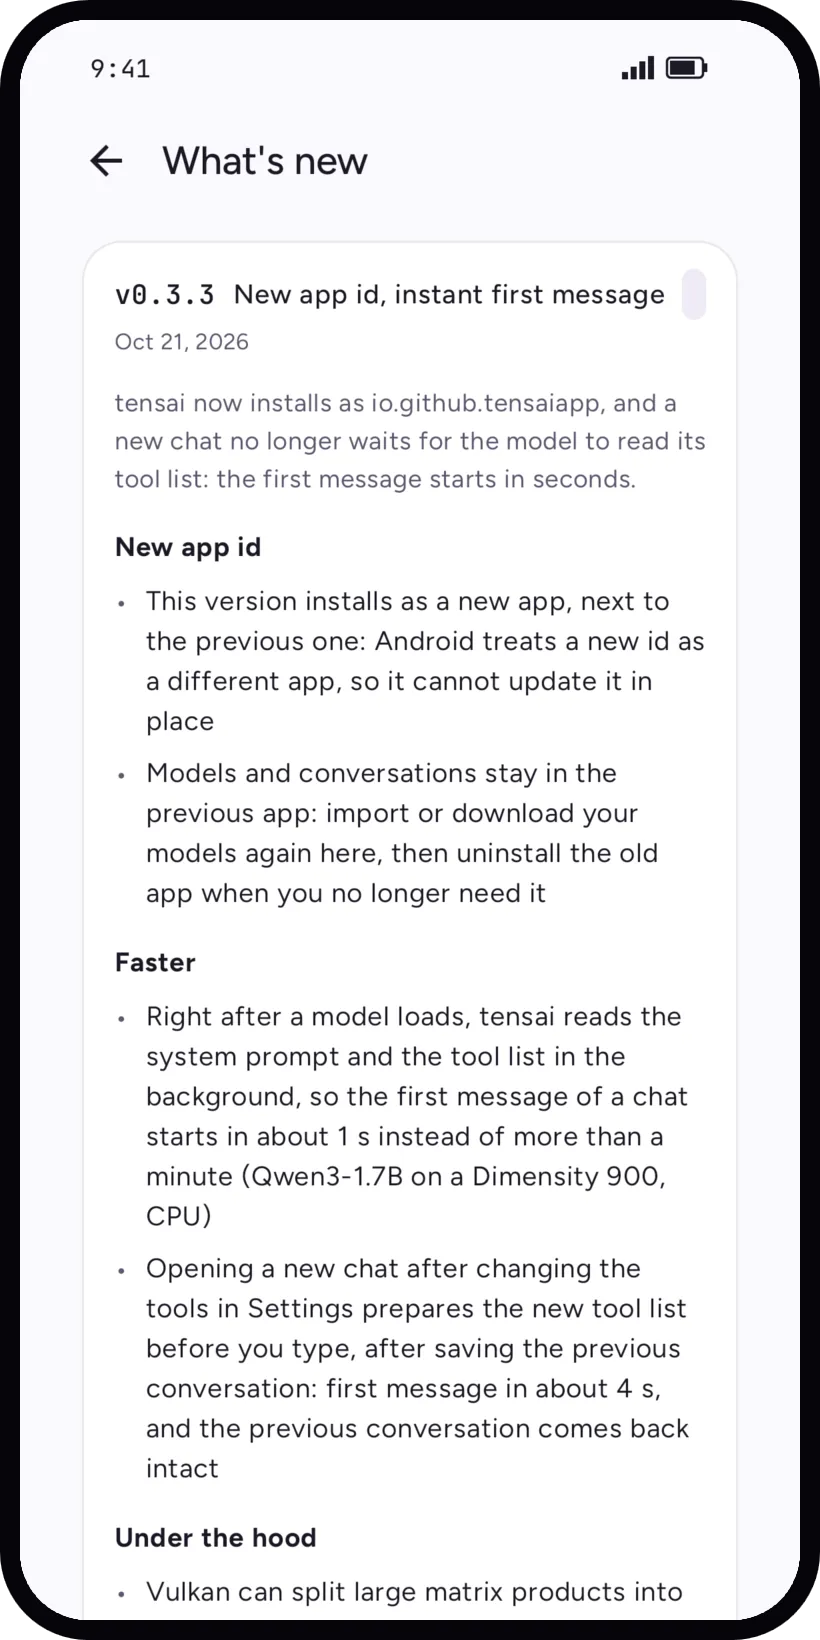
What changed in each version is on the changelog, and in the app under Settings, About, Version.